How to get started with Flutter
How to get started with Flutter
BRIEF INSTRUCTIONHow to get started with Flutter BRIEF INSTRUCTION
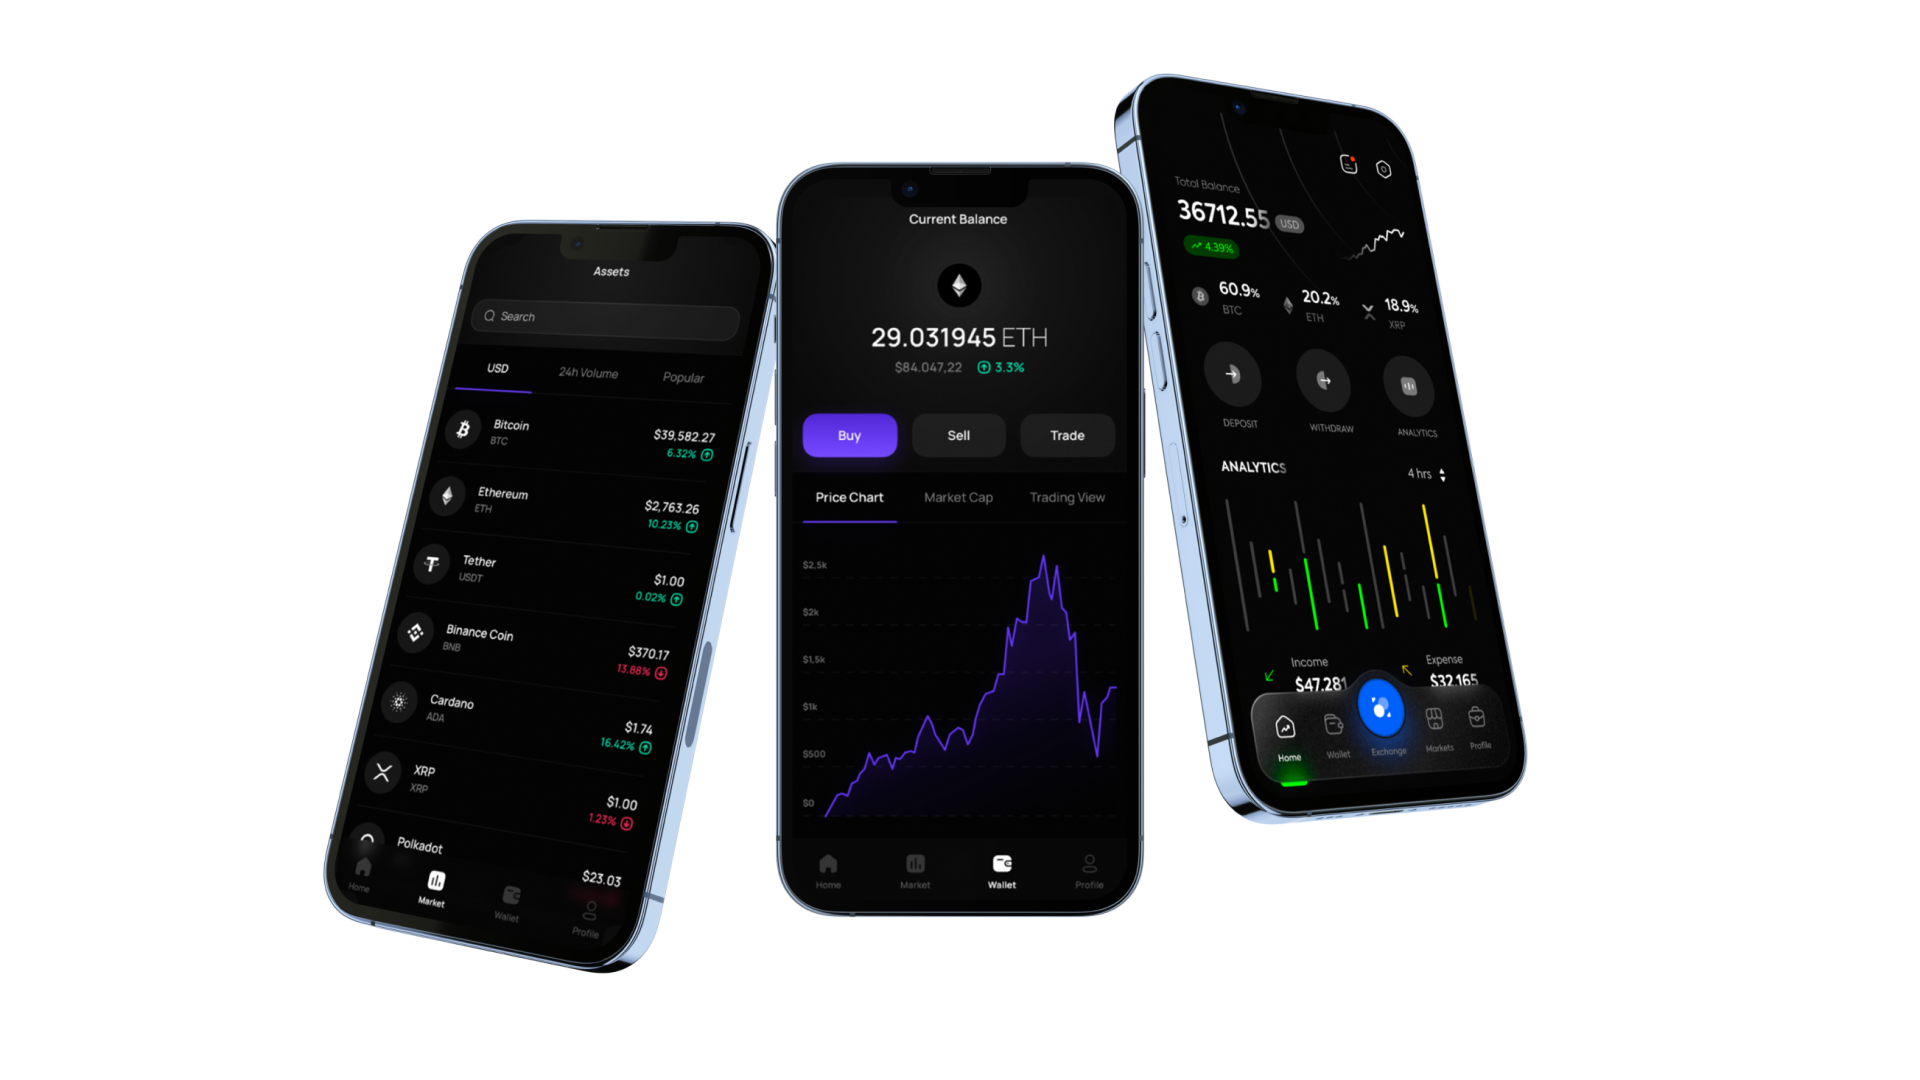
Flutter is a cross-platform open source framework from Google that runs on the Dart language. It allows you to create powerful applications for different operating systems, which are not much inferior to native projects.
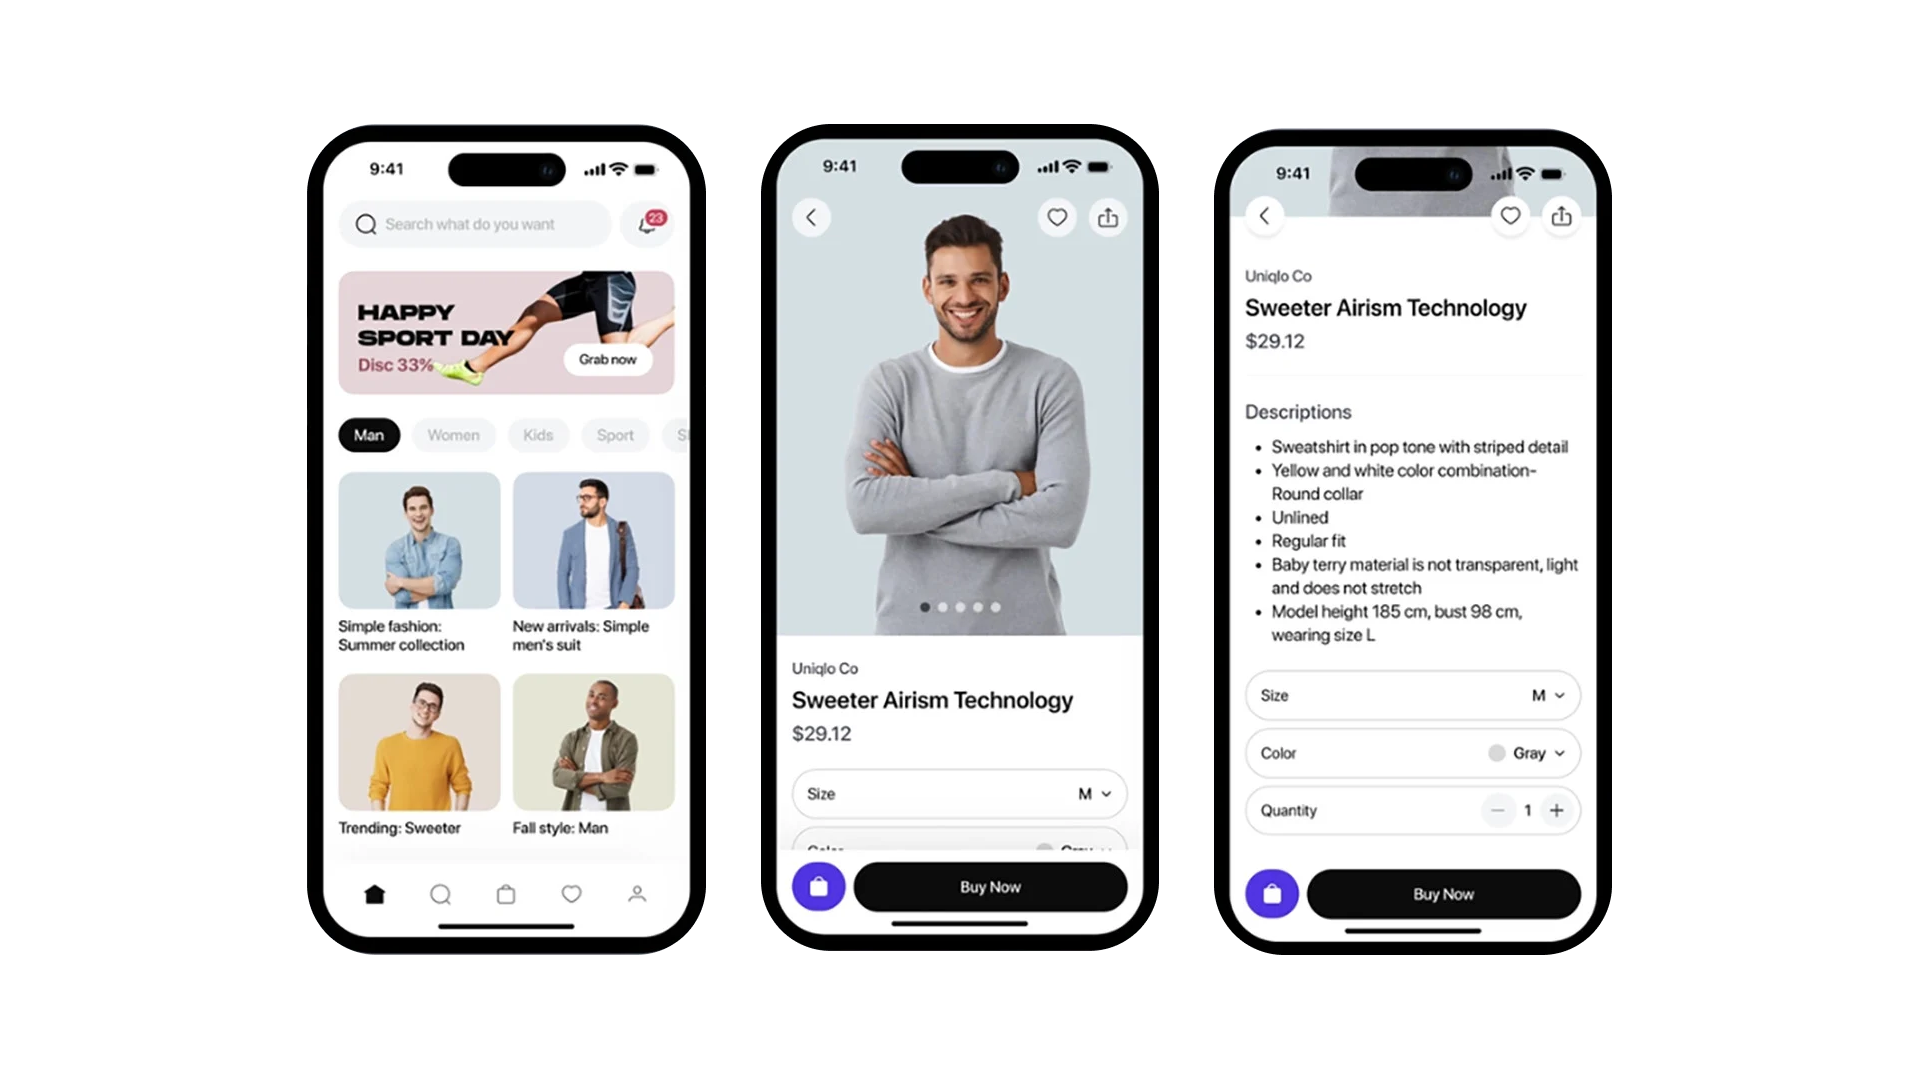
Despite the “youth” of Flutter – it was released in 2017, large projects with world names are already working on it. Here are a few of them:
- Google Ads.
- Ebay.
- Alibaba.
- Cryptomaniac.
- Square.
In this tutorial, we’ll walk you through how to get started with the Flutter SDK and help you write your first mobile app.
Installing and configuring Flutter
Flutter projectsInstalling and configuring Flutter Flutter projects
You can download the current version of the Flutter SDK on the official website of the framework. It also provides detailed instructions for installing it on different operating systems: Windows, macOS, Linux, Chrome OS.
In particular, to get started you need:
- Download the installation package to the device.
- Unpack the ZIP archive and select the installation location.
Note: Flutter is not recommended to be installed in the C:\Program Files\ directory because it requires elevated permissions. - Run flutter doctor – a command that will check if the tool is installed correctly.
- Install missing components if necessary.
- Set up the IDE.
- Test Flutter.
As a result, you will get: ready-to-use Flutter framework, VS Code source code editor and Android Studio. To build a project on iOS, you will also have to install macOS with Xcode, which are freely available.
Important: You can use different editors for Flutter development. By default, the main framework for the framework is VSCode, but we think that Intellij IDEA will be a little more convenient. In the future, you can choose from these two, or any other, however, we will use the “native” VSCode to create the first project.
After writing the code, the mobile application needs to be launched and tested immediately. For this we need:
- A real Android or iOS device connected to a computer and set to developer mode.
- iOS Simulator – to run IOS applications on a computer, in the absence of a physical device.
- Android emulator – for running Android applications.
- Google Chrome is a debugging browser.
When everything is ready and configured, you can move on to the most interesting part – creating an application.
Instructions: how to run your first project on Flutter
Flutter projectsInstructions: how to run your first project on Flutter Flutter projects
Launch VS Code with the Flutter extension installed and then open a command prompt. This can be done in several ways:
- Go to View → Command Palette.
- On macOS: Press the keyboard shortcut Command-Shift-P.
- On Windows or Linux: Press the keyboard shortcut Control-Shift-P.
Then enter the text in the command line: Flutter: New Application Project and press Return.
Select a folder to store the project, and give it a name. For example, let’s call the application new_flutter_project. Within a few seconds, Flutter will set up the project in VS Code, after which a tab called main.dart will open in the editor.
Let’s analyze the structure of the interface.
At the center of VS Code is the source code editor, where most of the work will take place. On the left is a panel that displays the structure of the entire project. The Android, iOS, and Web folders contain a set of files required to deploy a project to each of these platforms. The lib folder contains the main.dart document and code applicable to both platforms.
The Test folder is needed to test the project. This is an important step in the development of any application, but, within the scope of this guide, we will not touch on this topic. Therefore, if desired, this folder can be deleted.
Working with code
Flutter projectsWorking with code Flutter projects
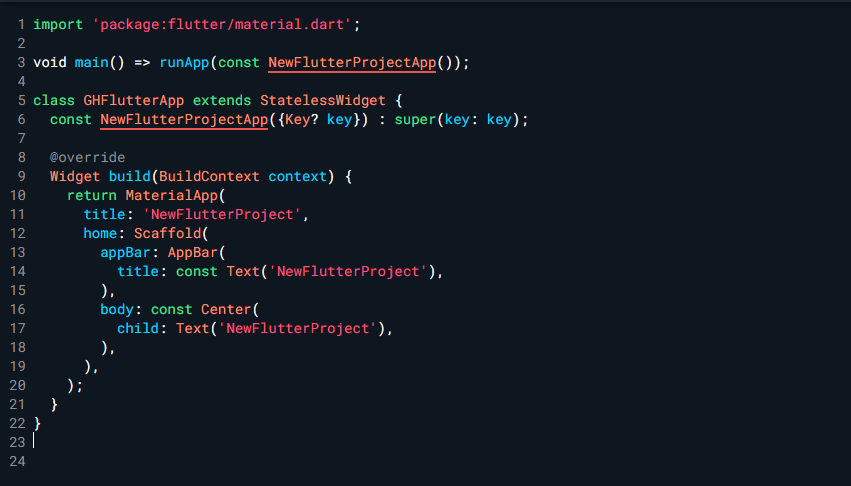
Replace the code in main.dart with this one:
Then, for the changes to take effect, they must be saved. To do this, run the command: File → Save. You can also press the keyboard shortcut Command+S for macOS, or Control+S for Windows or Linux.
In this code, to run the main application, we use the => operator for a single line function.
Most of the objects in a Flutter application are widgets that are or are not in some kind of state. In our case, the resulting application is an ordinary stateless widget.
Let’s start our project. To do this, in the lower right corner, click on the selected platform, after which a list of all available platforms on which the application can be launched will open. We have this:
- iOS Simulator;
- android emulator;
- Google Chrome browser.
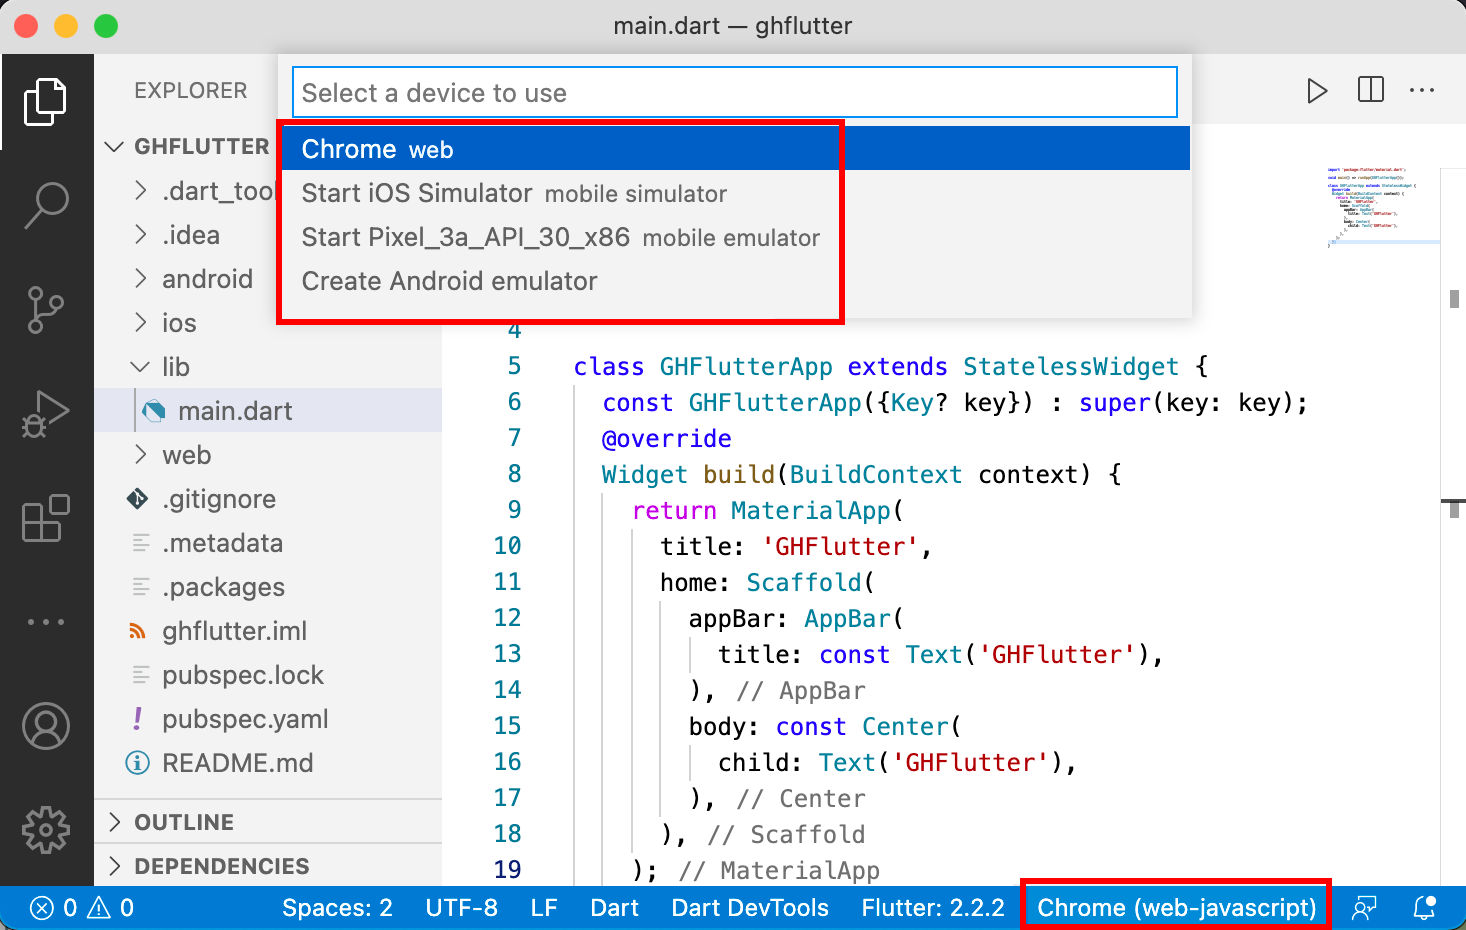
For example, let’s choose Android. After waiting for the launch of the emulator, you need to build and run the project. To do this, press F5, or execute the command Debug → Start Debugging. This will open the debug console and start building the application.
A red banner with the word DEBUG will appear in the upper right corner. It says that the application is running in debug mode.
To stop the application, you need to click on the red square button located at the top of the interface.

To return to the Project Explorer, in the VS Code toolbar select: View → Explorer.
Outcome
AVADA-MEDIAOutcome AVADA-MEDIA
Congratulations, today you have created your first Flutter application. In the following articles, we will delve into the topic, and tell you how to create different widgets, use HOT Reload – hot reload, import data packages and raise other important topics.
If you want to start learning Flutter, we invite you to free courses at AVADA MEDIA. Here you will find constructive video tutorials, practice on real projects and support of the current development team. The best students will be invited to work in our company.
Fresh works
We create space projectsFresh works
The best confirmation of our qualifications and professionalism are the stories of the success of our clients and the differences in their business before and after working with us.

Our clients
What they say about usOur clients What they say about us


Successful projects are created only by the team
Our teamSuccessful projects
are created only by the team Our team


Contact the experts
Have a question?Contact the experts Have a question?
-
Phone:+ 38 (097) 036 29 32
-
E-mail:info@avada-media.com.ua